Overview
HyperVerge provides AI-based identity verification — face match, document OCR, and liveness detection — used heavily by Indian fintech, lending, and insurance teams to onboard customers remotely. The manual alternative is slow and risky: a rep collects a selfie and an ID scan over email or WhatsApp, eyeballs them, and hopes the photo matches the document. Connecting HyperVerge to HelloGrowthCRM moves that verification inside the contact record, so KYC happens as part of the sales workflow instead of as a separate, unaudited step.
The integration runs verification on demand and writes the result back to the CRM record, so a rep can see at a glance whether a contact passed face match, OCR, and liveness before advancing a high-value deal. Setup is under Settings, Integrations, KYC, where you add the HyperVerge API key, choose which verification modes to run, and test on a sample document. Because identity data is sensitive, the recommended pattern is to verify only when a deal genuinely requires it and to restrict who can view the stored result.
What data is involved
- Verification outcome (pass / fail / review) written to the matching contact record.
- Face-match score between the selfie and the ID photo surfaced on the record.
- OCR-extracted fields (name, ID number, date of birth) returned as structured data for mapping.
- Liveness-check result flagged so spoofed or static-photo attempts are caught.
- Verification timestamp stored for the onboarding audit trail.
- Raw documents handled per your retention policy; only the fields you need are kept on the record.
Step-by-step setup
Setup at a glance (3-5 bullets)
- Add HyperVerge API key in Settings → Integrations → KYC
- Choose verification modes (face match, OCR, liveness)
- Test verification on a sample document
Sign in or sign up at HelloGrowthCRM. Open the login page, enter your credentials (or use Google), or choose Sign up if you need a new account. You must be signed in before you can open Settings and connect this integration.
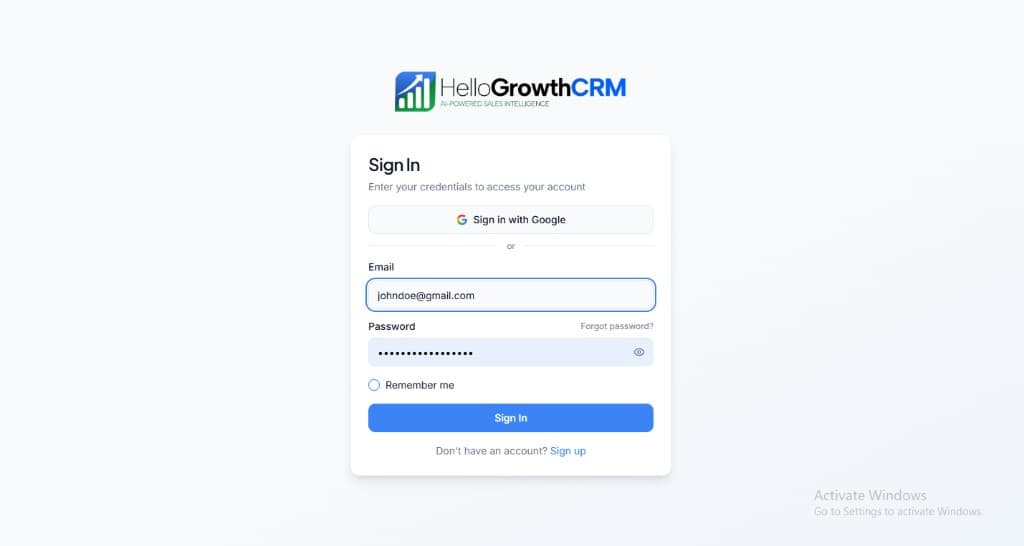
Open login page(opens in a new tab)app.hellogrowthcrm.com/login
Open Settings. In the left sidebar, under Admin, click Settings (you will land on the Settings area; the URL is app.hellogrowthcrm.com/settings).
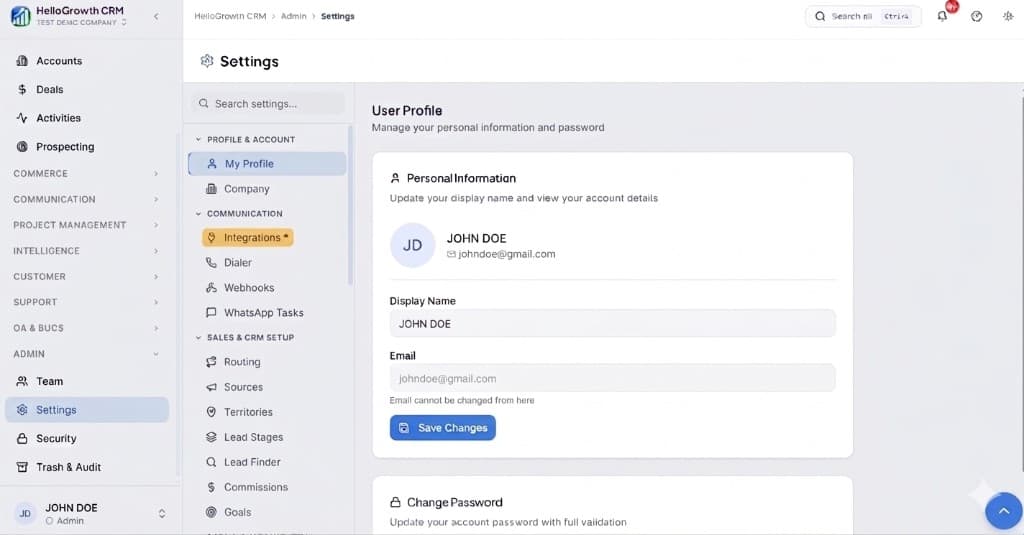
Open Settings(opens in a new tab)app.hellogrowthcrm.com/settings
Go to Integrations. On the Settings screen, use the middle settings menu. Under COMMUNICATION, click Integrations (star icon). Then find and configure this connector—the connector-specific steps below pick up from here.
Open Settings (Integrations)(opens in a new tab)app.hellogrowthcrm.com/settings
- Add HyperVerge API key in Settings → Integrations → KYC
- Choose verification modes (face match, OCR, liveness)
- Test verification on a sample document
Best practices
- Run verification only on deals that require KYC, rather than on every contact, to keep identity processing proportionate.
- Enable liveness detection for remote onboarding so a static photo cannot pass as a live selfie.
- Map OCR fields deliberately and review low-confidence extractions before trusting them on a contract.
- Restrict which roles can view verification results and extracted ID data inside the CRM.
- Keep the API key in your normal secret-management process and rotate it on schedule.
Best for & common use cases
Fintech, Lending, Insurance, High-value B2B sales
- Selfie-to-Aadhaar face match for remote onboarding
- OCR extraction from PAN cards and passports
- Liveness detection to prevent spoofing
Expected outcomes
- Faster lead handoff between tools and CRM owners
- Cleaner activity history for follow-up and reporting
- Lower manual copy-paste errors in the pipeline
Troubleshooting
- Verification result not on the record: the KYC result field was not mapped — add the mapping and re-test.
- Genuine customers failing face match: lighting or low-resolution selfies are common causes; prompt for a clearer image before flagging a deal.
- OCR fields look wrong: low-confidence extractions were trusted automatically — enable manual review for low scores.
FAQ
Governance
Treat API keys and webhooks as production secrets. Align field mapping with your privacy policy and regional regulations (GDPR, marketing consent, telemarketing rules). Your admin controls which roles can install or edit integrations.
Related integrations in this category
GST-compliant invoice generation, GSTIN validation, and e-invoicing (IRN) directly from CRM deals — no separate tax portal login needed.
Indic-language voice notes, speech-to-text transcription, and regional-language AI across Hindi, Tamil, Telugu, and 9 more languages.
Paperless KYC via India's government-backed document platform — pull verified Aadhaar, PAN, driving licence, and other documents directly into CRM records.
Migrate contacts, accounts, opportunities, activities, and custom fields from Microsoft Dynamics 365 to HelloGrowthCRM with full field mapping and historical data.
Migrate boards, items, contacts, and pipeline data from Monday.com CRM to HelloGrowthCRM — converting Monday's board structure to CRM pipelines.
Migrate leads, contacts, accounts, deals, emails, notes, and activities from Freshsales to HelloGrowthCRM with owner attribution and timeline preserved.
Migrate Copper CRM contacts, opportunities, activities, and Google Workspace-linked data to HelloGrowthCRM.
Migrate Insightly contacts, leads, opportunities, projects, and custom fields to HelloGrowthCRM with relationship mapping preserved.